30 Days in ChromeOS

This article details how I survived 30 days in ChromeOS as a poweruser. I don’t use Chrome Browser and I don’t enjoy using Andorid apps. This is how I used ChromeOS like a desktop instead of a mobile phone. No, I didn’t enable developer mode for this.
ChromeOS Changes to Supercharge the Install
The biggest thing about ChromeOS that it has a huge amount of Pros, but is missing some things out of the box that many desktop users need. I changed the browser, photo editing software, gaming, game streaming, and many other tools using ChromeOS’s built in Linux environment. The container system (crostini) is absolutely amazing and I was able to utilize all these Linux/Windows tools on my system.
Launch Settings and type in search Linux
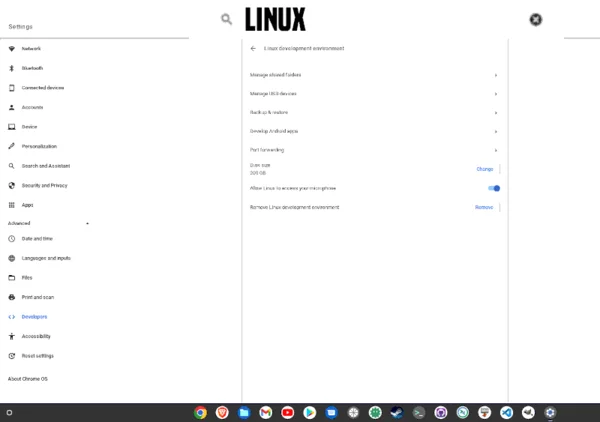
Setting up the Linux Environment
By default setting up a Linux environment in Chrome is as easy as checking a box in Settings. We just need to modify the environment ChromeOS gives us.
Then we change the stock repositories in the linux environment so that we can easily install our programs. All the below commands are done in Terminal –

Install Text Editor
sudo apt update && sudo apt install nano
Edit the download repos so we can install more
sudo nano /etc/apt/sources.list
Edit the file to look like this:
deb https://deb.debian.org/debian sid main contrib non-free
Save and Exit
Update system and install any packages
sudo apt update
sudo apt install packagename
Rename package name to be the package you need. Ex. sudo apt install gimp
With the environment now setup, we can get a ton of packages into our ChromeOS that automatically add to the start menu. We can add more than this by installing deb packages, adding repositories, or building programs from source using the linux tar.gz files. The sky is the limit!
Install Your desktop programs
Getting the browser you use on your desktop is the first thing I do. Chrome is great, but not everyone uses it and I prefer Brave a bit more, where others prefer Firefox. You can simple follow the linux install instructions for your browser of choice. Here is some basic ways to install the browser from the Linux Terminal.
Firefox
sudo apt install firefox
Brave
sudo apt install apt-transport-https curl
sudo curl -fsSLo /usr/share/keyrings/brave-browser-archive-keyring.gpg https://brave-browser-apt-release.s3.brave.com/brave-browser-archive-keyring.gpg
echo "deb [signed-by=/usr/share/keyrings/brave-browser-archive-keyring.gpg arch=amd64] https://brave-browser-apt-release.s3.brave.com/ stable main"|sudo tee /etc/apt/sources.list.d/brave-browser-release.list
sudo apt update
sudo apt install brave-browser
The remaining programs can be installed using any Linux guide that is based around “Debian” and most can simple be installed using sudo apt install command. There were a couple programs I installed by download the .deb file. which can be installed using sudo dpkg -i packagename.deb
Pros and Cons of Using ChromeOS
Pros
- More than a web browser
- Installing other browsers and programs
- Brave
- GIMP
- Linux Programs
- Performance - Good, but video can be laggy.
- Perfect for old or low powered equipment
- Amazing power management
Cons
- No Windows Apps
- 3d/Video acceleration is crap
- Everything is Google
- GApps - Sheets, Word, Etc.
- Google Drive
- Google Account is a must
- Files and System navigation is lacking - USB Drives and recognition issues with external media
Installing on an Old Machine
- Google Extension and 8GB+ Thumbdrive
- Install via Google Extension (Required) https://chrome.google.com/webstore/detail/chromebook-recovery-utili/pocpnlppkickgojjlmhdmidojbmbodfm
Conclusion
ChromeOS has some amazing use cases, but is definitely not for everyone. I have a couple old low powered computers that I can repurpose with ChromeOS to bring them new life, but I will not be daily driving it on my main machine.