Fix Windows Network and Sharing
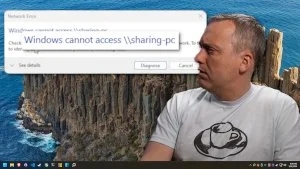
Fixing problems with windows file sharing using the following methods.
Note: Check ALL these methods as anyone of them can cause file sharing to fail!
Network and File Sharing
Launch old control panel with Start -> Run -> control or Windows Key + R and select Network and Sharing Center.
Follow these Steps from Network and Sharing Center
- Select Advanced Sharing Settings
- Turn on network discovery and check Turn on automatic setup of network connected devices.
- Turn on file and printer sharing
- Optional: If you don’t want passwords click “All Networks and turn off Password protected sharing”
Check if Network is classified Public
If your network is classified as Public it will NOT allow you to share files or printers! Check it with powershell:
- Launch Powershell (right-click start menu and select powershell with admin or terminal with admin)
- Type
Get-NetConnectionProfile - Verify NetworkCategory is PRIVATE!
- If it is Public Type
Set-NetConnectionProfile -Name "Network #" -NetworkCategory Private
Note: Change Network # to the NAME of your Network from Get-NetConnectionProfile
Share your folders
Right-click any folder and select “give access to” and select your login user. On new Windows 11/10 systems this is often your microsoft account ([email protected]). If you turned off password sharing and want EVERYONE to see those files then type “Everyone” and give access to them.
Another option is to right-click the folder and select properties. Then select the sharing tab and give access through there.